AWS Setup
Due to most computers and laptops lacking the computing power to train deep learning models (especially for image based tasks), we will utilize Amazon's AWS EC2 computing instances to train our models. This won't be necessary for the first few practicals but will definitely be useful when we start training deeper networks. Follow the instructions below to learn how to get AWS EC2 working.
Getting Started
Create an AWS account
First, create an AWS account using your umd.edu email here. If you already have an AWS account with your umd.edu email, sign in with the same account.
Note: These accounts are free tier accounts meaning you get access to basic developer resources. More detail on free tier accounts are available here.
MLH + AWS Educate Credit
As MLH has a partnership with AWS, all university students (hence the umd.edu email) get access to an Amazon Educate account including $100 in AWS credit. You can sign up for AWS Educate here.
Note: You will be asked for your account id during the application which you can find on the 'My Account' page on the AWS portal.
After signing up, you will receive an email containing the code for the promotional AWS credit. You can redeem the credit in the Billing > Credits section on the AWS portal.
Using AWS Instances
Sign in
Make sure you are signed into your account on the AWS homepage. You should see something like this:
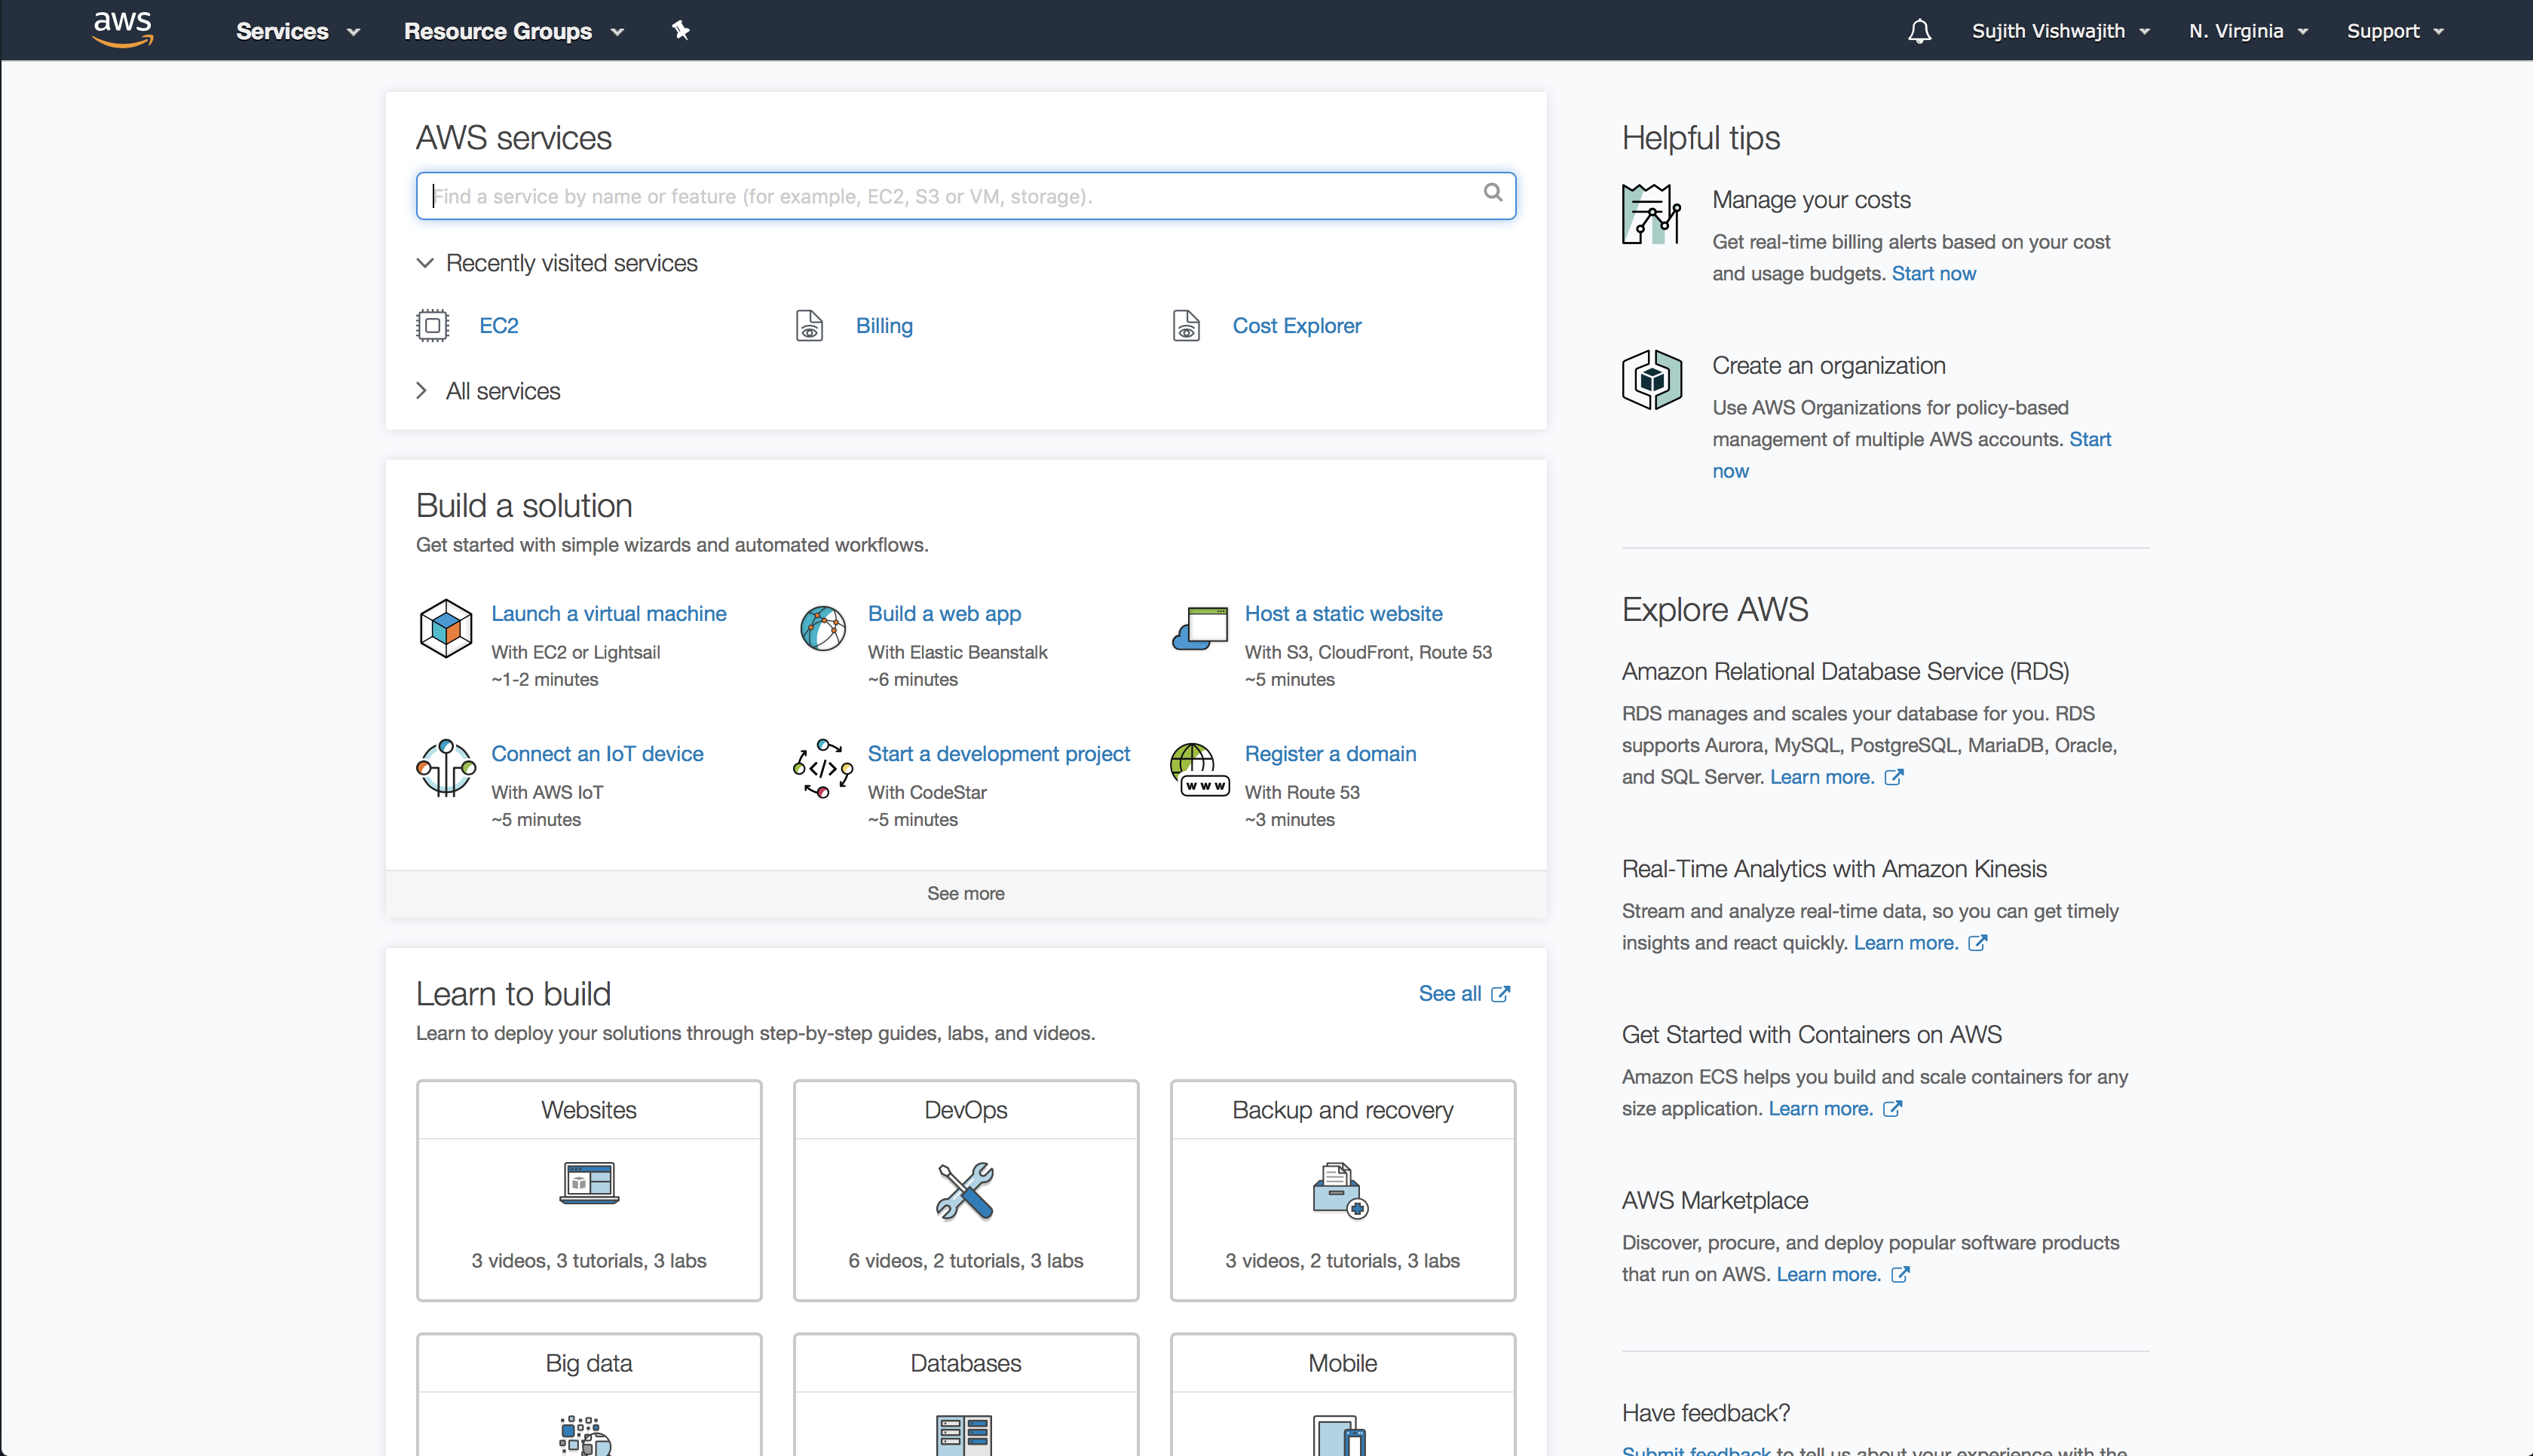
Make sure that the region on the top right is set to N. Virginia (this gives us access to the p3.x and p2.x instances). You can change it by selecting it from the dropdown menu.
Launching an Instance
Click on the services dropdown in the top left and select the EC2 option under the compute section. You should be redirected to a page that looks like this:
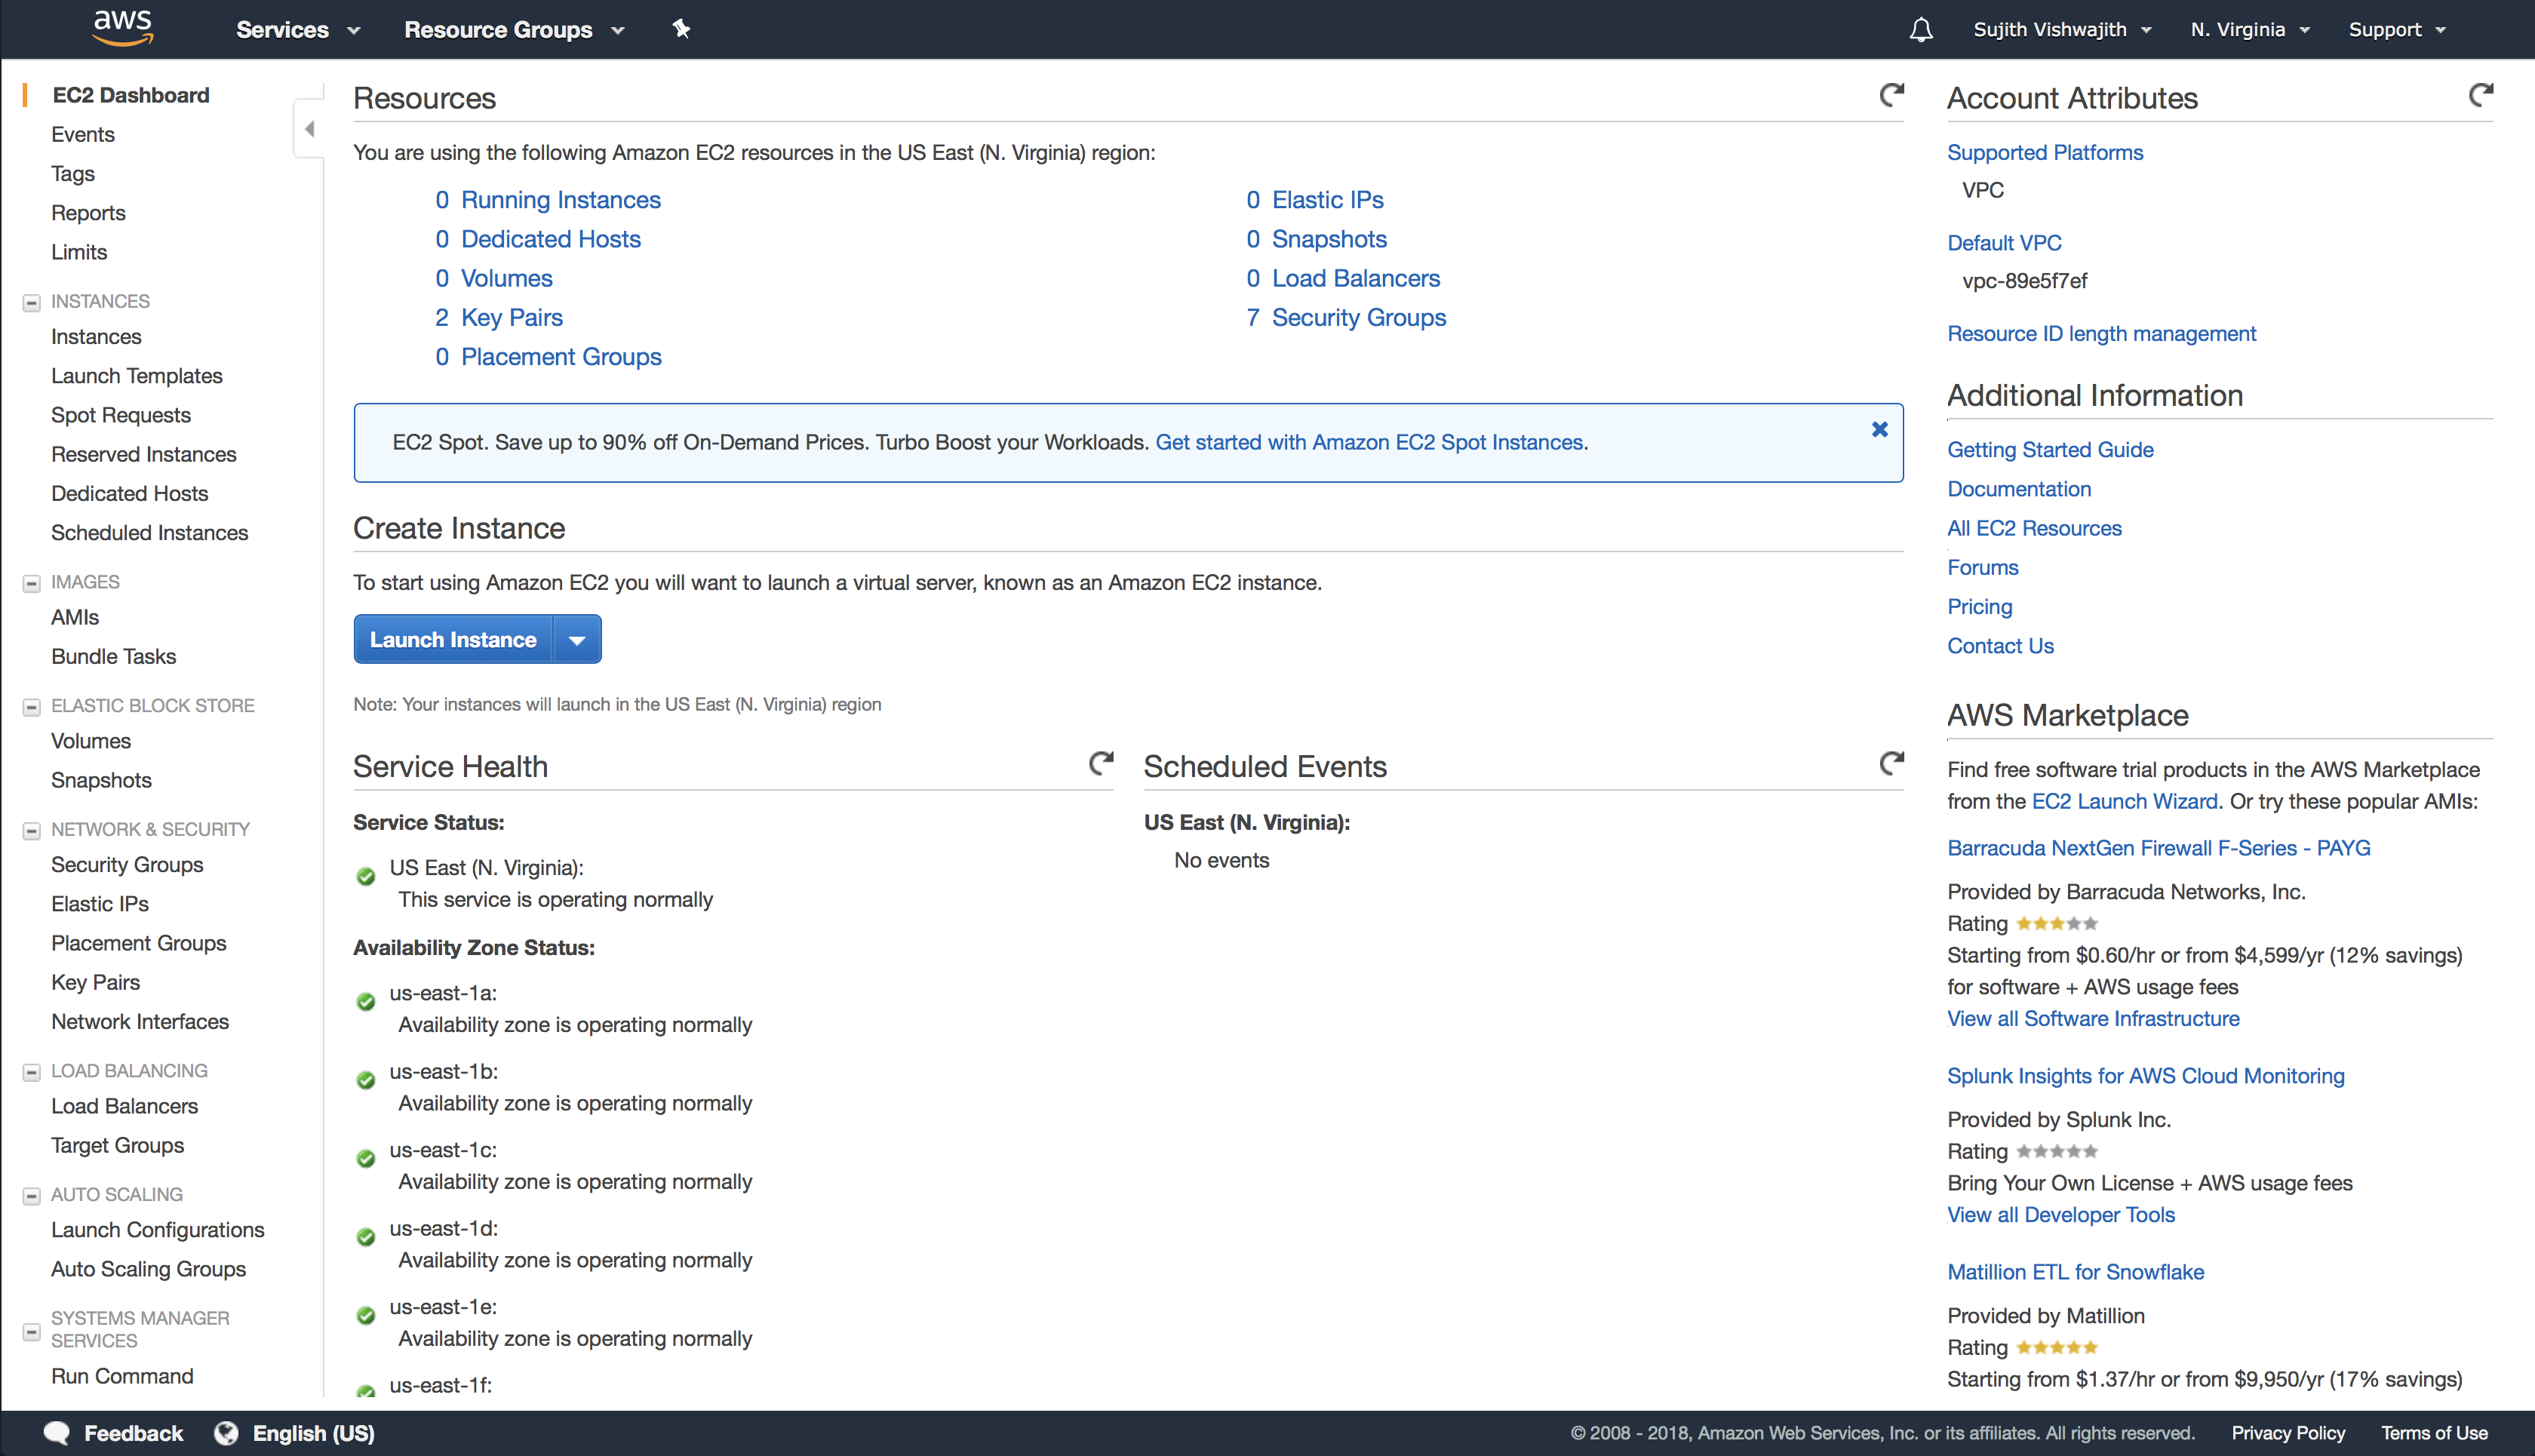
Click the blue "Launch Instance" button located in the middle of the screen. You should be redirected to a screen that looks like this:

Click on the "Community AMIs" tab on the left and search for "Deep Learning". You should see a result for the AMI Deep Learning AMI (Ubuntu) Version 3.0 (AMI ID: ami-0a9fac70). Select that AMI and you should be prompted to choose an instance type:
Select the p2.xlarge instance. Another good option is the g2.2xlarge instance.
Note: If desired, you can also choose whichever one you would like but make sure you review the cost per hour here. The $100 credit should be more than enough for the entire semester and you don't want to use it up before completing the final project as we can't offer more.
After selecting an instance, click the "Review and Launch" button. You will then be asked to create or use an existing key-pair to connect with your instance. If you already use AWS and have an existing key-pair, you can use that. If not, you can create a new one by choosing “Create a new key pair” from the menu and give it a name of choice (e.g. "CMSC389-AWS"). Download the key pair, and move it somewhere that you won’t accidentally delete (easiest would be to leave it in the course project directory). Remember that if you lose your keypair, you will not be able to connect to your instance. Also make sure to not share your keypair publicly.
Once you download your keypair, change it's permission by running:
$ chmod 600 <keypair>
Here PEM_FILENAME should be the path to your keypair.
Connecting to an Instance
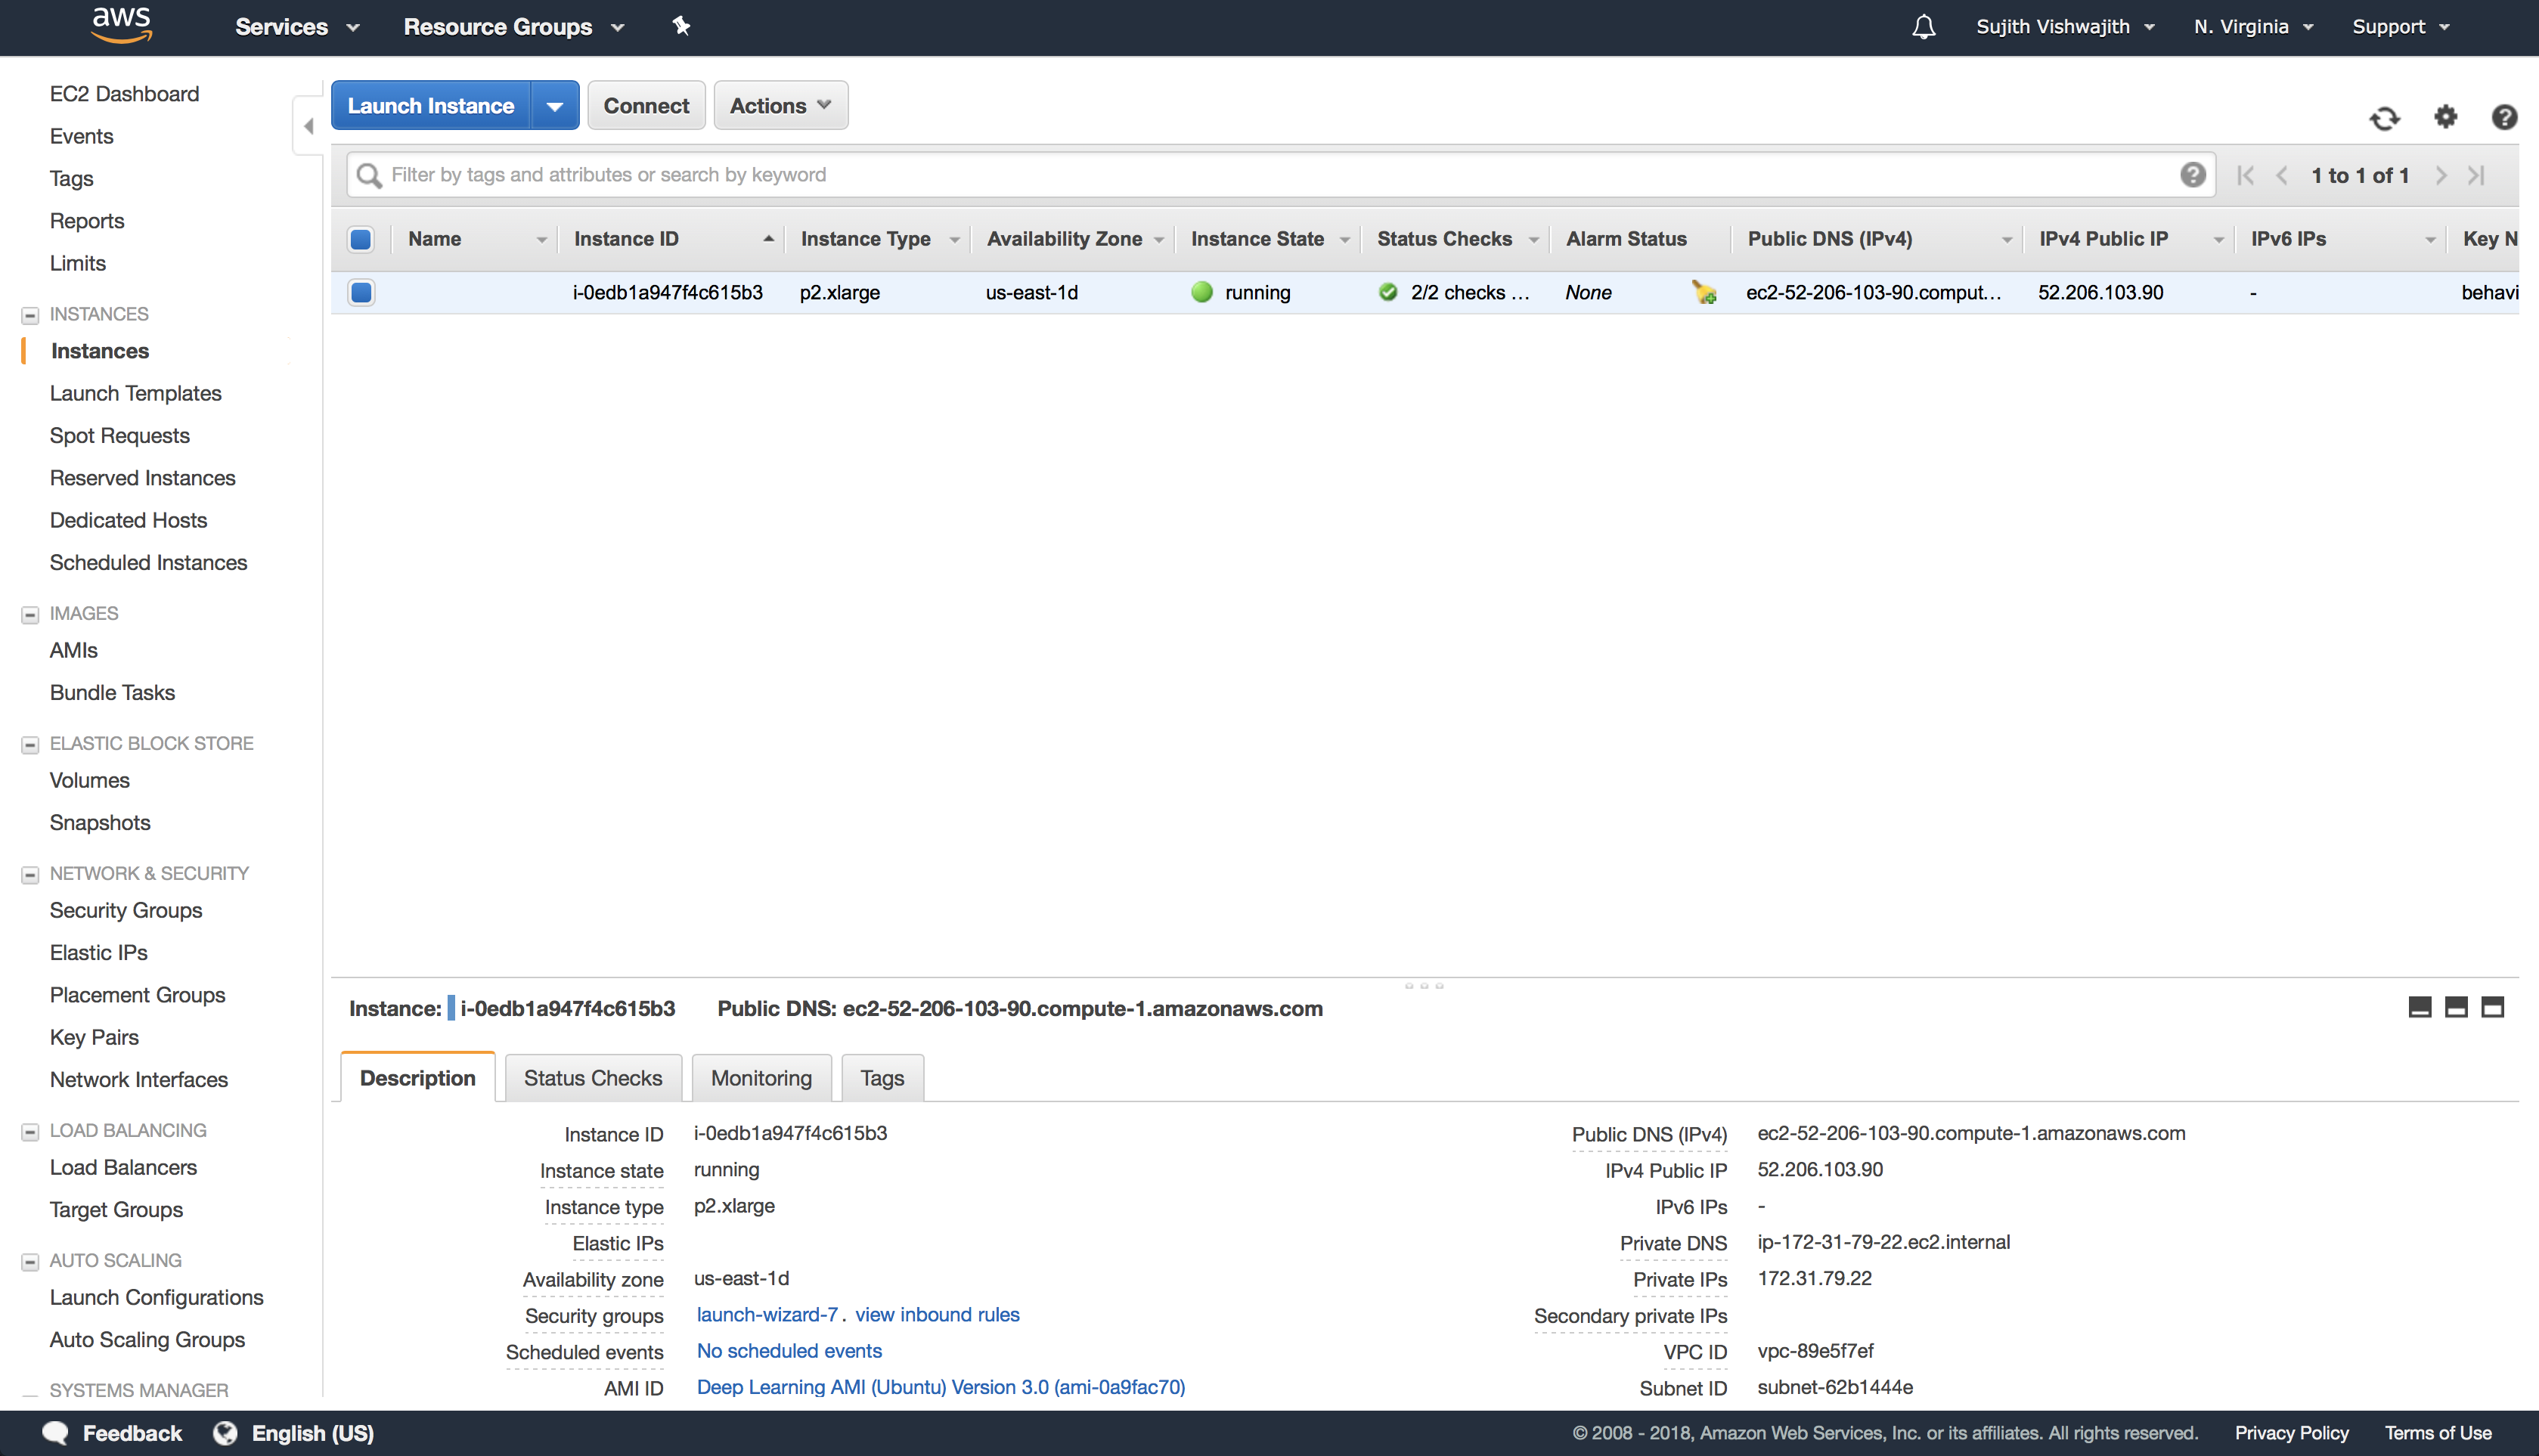
Click on the "View Instances" tab to see your current running instances. It should have the status "Running" and be performing status checks. Meanwhile, note down the PUBLIC_IP address of the instance. Once both status checks are complete (usually takes ~5 minutes), you can SSH into the instance by running:
$ ssh -i <keypair> ubuntu@PUBLIC_IP
Setting up Instance
The instance AMI we selected comes installed with MXNet, TensorFlow, Caffe2, PyTorch, Theano, CNTK, Keras by default. At this point in time, follow the instructions here to setup the dev environment. You should fork the class repo and make it private. You can keep the code synced with the original repo by following the instructions here.
Note: It may be easier just to maintain a private repo with only your project implementations.
Using an Instance
The reason we want our code on a GitHub repo is that it makes it easy for us to run our code on the instance since it isn't a local machine. You can clone into your repo using the git clone command and run the code like you would on a local machine. Make sure you commit any changes NOT ON THE CLASS REPO to gain access to it on your local machine. You can also manually transfer files to your personal machine using scp.
Uploading a file to an Instance:
$ scp -i <keypair> myfile.txt ubuntu@PUBLIC_IP:/home/ubuntu/myfile.txt
Downloading a file from an Instance
$ scp -i <keypair> ubuntu@PUBLIC_IP:/path/to/file .
Closing an Instance
It is EXTREMELY important to always close your instance once you are done using it. Amazon bills you (or your credit amount) per hour the instance is active. In order to close your instance, right click on the instance and select Instance State > Terminate. Terminating your instance shuts everything down so when you create a new one you have to go through the environment setup again.
Note: You can choose to also stop your instance as AWS won't charge you for stopped instances. However, if you do have data files stored on it, they will charge you for the AWS EBS volumes cost as stated here.

Afterwards, wait a couple minutes to make sure your instance is closed.
Any questions regarding the setup of AWS should be posted on Piazza.